Feestdagen! 20% korting met code 'BFFLOWTER'
Cleaning mountain bike after ride? Read the best 5 tips here
Lex Ligtenberg
Let’s get straight to the point: NO ONE FINDS IT FUN TO CLEAN HIS MTB AFTER A RIDE!!!! especially when you are completely demolished after your trail and it is also completely covered in mud, *sigh*. But we have good news! Below we present 5 tips you can use to make it a bit easier for yourself to get your MTB back on the Pedal Hanger in the shed as good as new. Who knows, maybe you’ll start looking forward to cleaning it in a moment!
#1 Put the bike in a good spot
The first step, of course, is to put the bike in a good and safe place. This is best done with bicycle stands or mounting stands. The difference is that you put your rear wheel in a bike stand so it won’t fall over and with a mounting stand you hang your bike. This makes it easier to reach awkward spots. The disadvantage is that the latter is a bit heavier and more expensive. Preferably put it as far away from the front or back door as possible. Why? You’ll make a mess of it later and your wife, girlfriend, boyfriend, husband or housemates won’t look at you for the rest of the day when you walk all the mud and grease from your bike into the house. How do we know this? Let’s just say this is a matter of experience.
#2 Use a bucket of water or garden hose
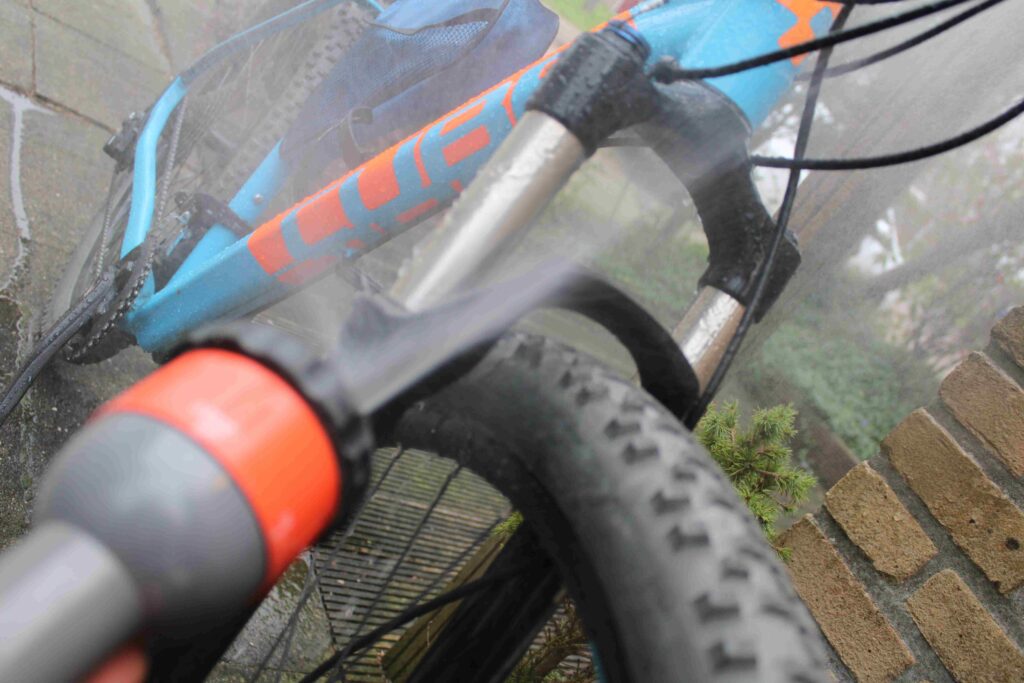
The next step is to use brute force to loosen the worst of the mud. A garden hose is the best method here. If you don’t own one, use a bucket of water with a coarse brush. Note: Even if you are tempted to go to the carwash, never use a high-pressure cleaner to clean your mountain bike! This not only washes away dirt and mud, but also the bearing grease in your bottom bracket and hubs, for example. In addition, it is also not good for the chain and sprockets.
#3 Bicycle shampoo, washing-up liquid or green soap?
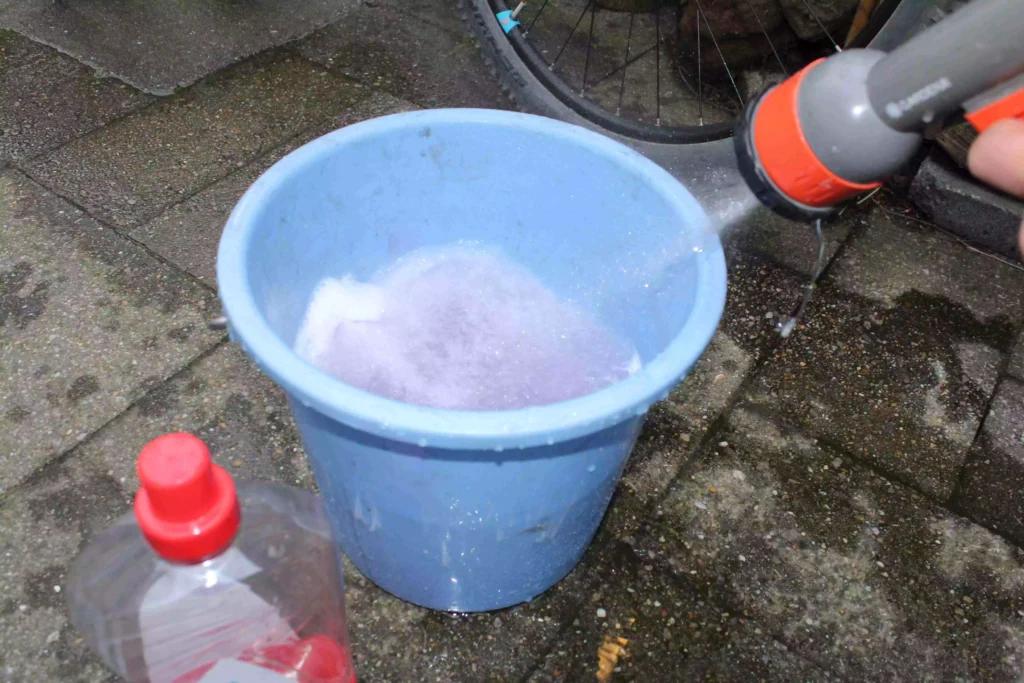
As long as mountain bikes have existed, so old is the debate over which cleaning product to use to get them clean. For instance, there are foaming bike shampoos and degreasers, but others swear by washing-up liquid or good old green soap! So what actually works best? Of course, the specialist shampoos or detergents are best for cleaning your mountain bike after a ride. However, washing-up liquid and green soap also do their job and are of course a bit cheaper. Our advice? Try them all out and see which one you like using best.
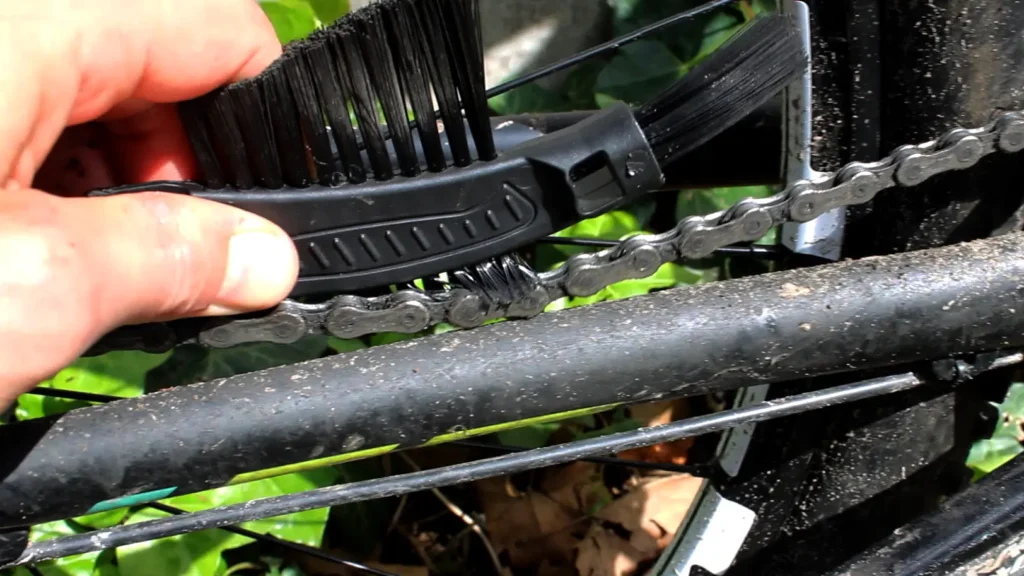
Looks handy doesn’t that brush? We used the Scorpion brush for this.
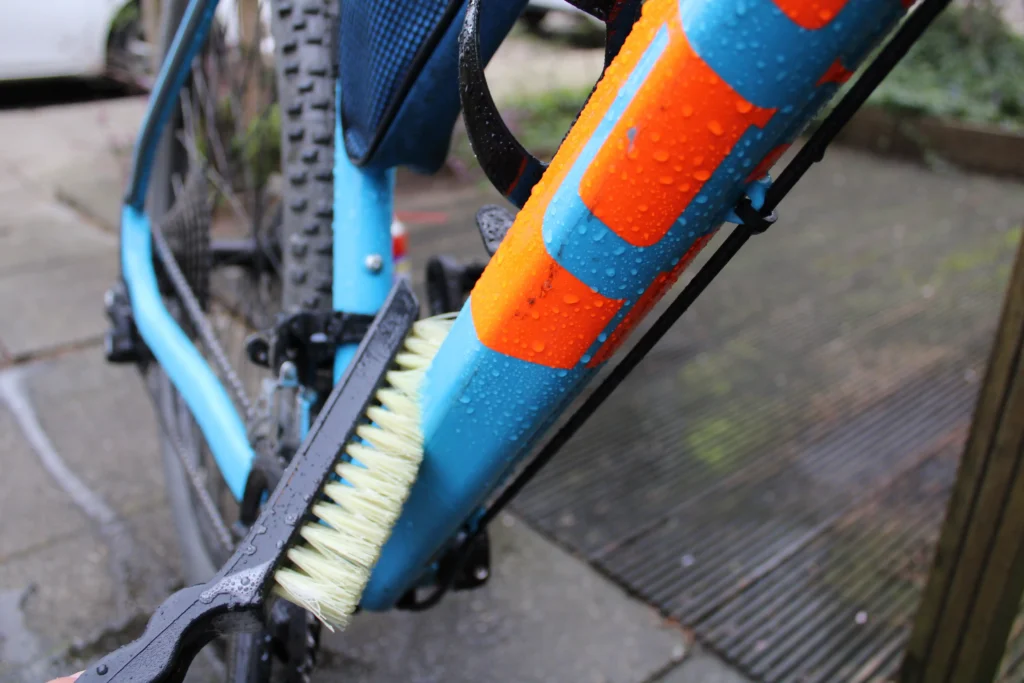
The derailleur wheels are a part of your bike that is often overlooked when cleaning, but where a lot of dirt, mud and grease can accumulate. So make sure you clean these properly. They are also quite easy to assemble and disassemble with an Allen key. This allows you to access them more easily and make them shine again by cleaning them properly. When cleaning, work from top to bottom like a true painter, as the dirt drips down.
#4 Chain, cassette, gears and brakes
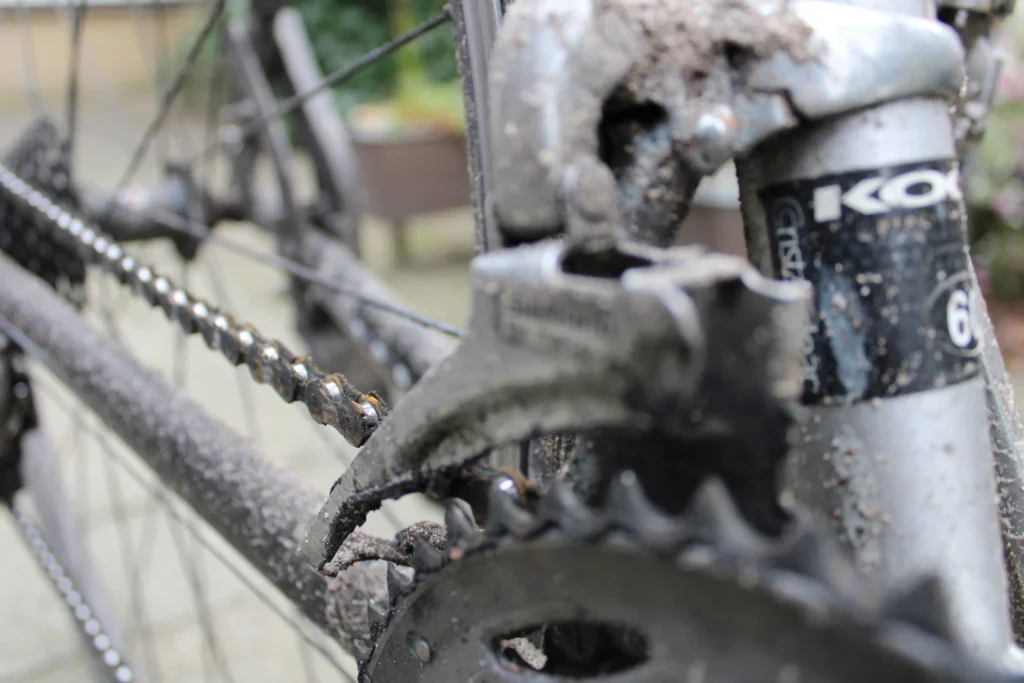
Next, it is time to get to grips with the chain, gears and brakes. The coarse violence has now given way to detailing. Let’s start with the chain. In our blog on maintaining your mountain bike, we talk about the different options regarding cleaning the chain and using oil. What you can do is to use chain cleaner. In this, your hands don’t get dirty and the work is done for you. Simply put some water and soap in the chamber provided and clamp it onto your chain. Then you can just spin your wheel on your pedals and your chain will be easily cleaned. What you can also do is, for example, use an old toothbrush and the chosen cleaner from tip 2 to get in between the sprockets and links properly. You can also use the toothbrush to take care of the gears and brakes. These are the most vulnerable parts of the MTB and should be handled with velvet gloves. To keep them clean for longer, you can choose to apply a moisturiser. This will keep dirt away for longer.
#5 Set goals and reward yourself
Do you hate cleaning your mountain bike after a ride and prefer to wait until there is a nice orange coating on all your parts? Then make sure you support yourself a little mentally. You can do this before a ride by setting a goal to clean your mountain bike after the ride and reward yourself with a nice Kwaremont, for example. That way, you lower the threshold to actually do it and you will see that you can enjoy that beer extra!
Step 1: Before heading out, set the goal that you will ‘clean your mtb immediately upon returning home’.
Step 2: Actually see yourself in front of you with all the steps you need to take to clean your mtb. By visualising this, you make it a lot easier for yourself to carry it out later when you get home. You are actually fooling yourself a bit with this! Details are very important here. What do you see, what do you smell, how do you feel? Are you tired from the trail or are you really looking forward to that beer?
Step 3: Take a shower, replenish those carbs and those proteins and plop on the sofa for the rest of the afternoon.
By the way, do you want to shower, eat, warm up and then clean your bike first? Or are there just a few splatters on it? With the Flowter Pedal Hanger, you can hang your bike indoors in a safe place without dirtying the interior or walls. Because when you hang an MTB in the Flowter Pedal Hanger, it only touches the system and not the wall! Ideal if you want to temporarily store your bike or not.
Want to keep enjoying your mountain bike for as long as possible? Then make sure you clean your mtb well after every ride using the tips above. That way it will stay shiny, your parts will last as long as possible and you will know your MTB like the back of your hand. This has the big advantage that you will notice problems quickly. Worn tyres and brake pads, but also rim cracks and frame cracks. So you can confidently take every corner and jump on every trail at 100% and get the most out of yourself and your bike!
